Oven-Baked Cottage Cheese and Apple Pie
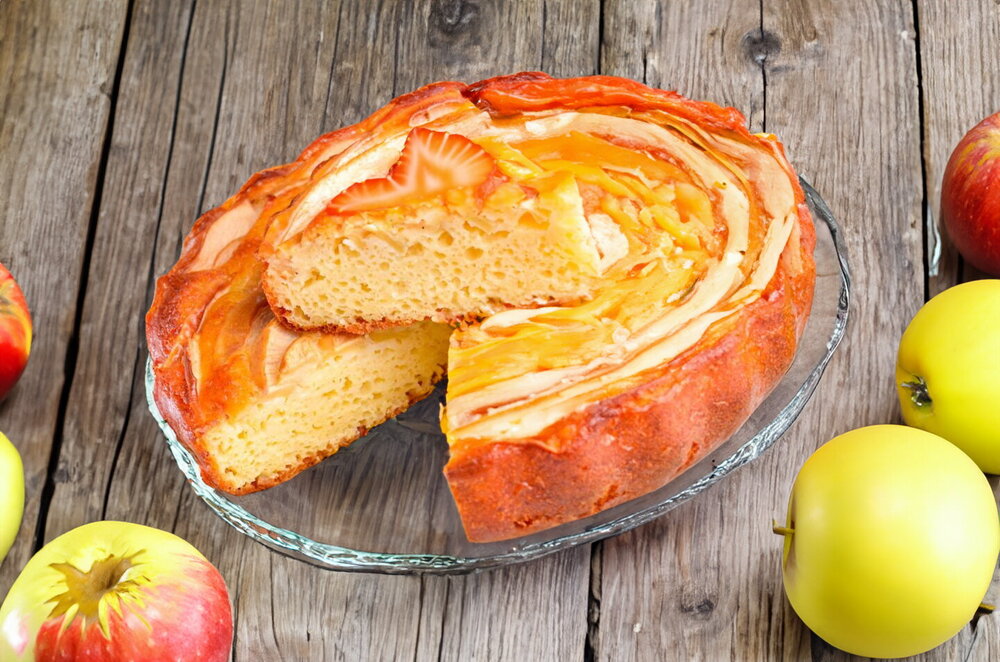
Healthy, diet-friendly, low-calorie, tasty, and aromatic! This oven-baked cottage cheese and apple pie is made without sugar, using rice flour instead of wheat. Despite these substitutions, the pie turns out juicy, soft, and very delicious. A real find for those who watch their diet!
Updated : 16 July, 2025
Easy
About 30 min.
Ingredients

200 grams
Curd

4
Eggs

3 tablespoon
Rice flour

2 tablespoon
Sugar substitute

1 teaspoon
Baking powder

3
Apple

to taste
Salt
Table
Table of volume measurements:
- teaspoon - 5 ml
- dessert spoon - 10 ml
- tablespoon - 20 ml
- glass - 200 ml
Preparation
Step 1
Use fat-free or low-fat cottage cheese. Choose soft types; grainy cottage cheese won’t work because it stays lumpy in the batter. You may need slightly more flour depending on the dough’s consistency. All ingredients should be at room temperature.
Step 2
Wash the eggs thoroughly and crack them into a bowl. Add a pinch of salt - it not only helps the eggs whip better but also enhances the pie’s flavor. If you’re adding a sugar substitute, add it now. Beat the eggs with a mixer until fluffy.
Step 3
Add the cottage cheese to the egg mixture. You can push it through a sieve or blend it with the eggs using an immersion blender. I used soft, smooth cottage cheese and skipped this step. Mix everything until smooth.
Step 4
Sift flour and baking powder into the mixture. This not only removes any debris but also incorporates air, making the pie fluffier. Stir the batter. If it’s too runny, add a bit more flour. The finished batter should be like thick sour cream. If it’s too stiff, add a bit of warm water or milk.
Step 5
Wash, dry, and slice the apples thinly.
Step 6
Take a suitable baking dish. Any heatproof dish works for this recipe. If using a silicone mold, you don’t need to grease it. For metal, ceramic, or glass dishes, lightly brush with vegetable oil to prevent sticking. I used a round dish, 20 cm (about 8 inches) in diameter. Pour the batter into the dish and smooth it out. Arrange the apple slices in a circle to form a flower pattern.
Step 7
Bake the pie in a preheated oven at 180°C (350°F) for 45 minutes to 1 hour. The exact baking time depends on your oven and pan size. Check doneness with a toothpick - it should come out dry from the center.
Step 8
Once cooled, remove the pie from the mold and serve. Enjoy!