Zebra Cake with Milk
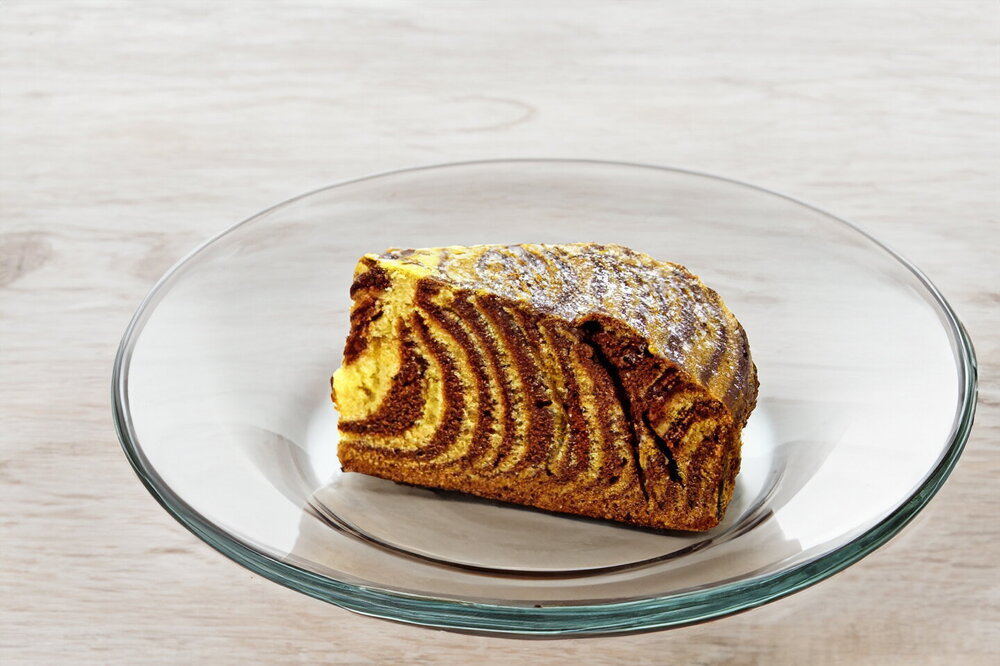
Fantastically beautiful and appetizing. Make it as often as you like. Zebra Cake with Milk is very pleasing to the eye, and its cut is as attractive as many more complex desserts. I think children will be delighted to help make it together with adults.
Updated : 03 June, 2026
Easy
About 30 min.
Ingredients
Chocolate batter

220 milliliters
Milk

250 grams
Wheat flour

0.5 teaspoon
Baking soda

0.5 teaspoon
Lemon juice

1 tablespoon
Vegetable oil

1 teaspoon
Vanilla sugar

1
Eggs

0.5 teaspoon
Salt

0.5 cup
Sugar

3 tablespoon
Cocoa
White batter
220 milliliters
Milk
270 grams
Wheat flour
0.5 teaspoon
Baking soda
0.5 teaspoon
Lemon juice
1 tablespoon
Vegetable oil
1 teaspoon
Vanilla sugar
1
Eggs
0.5 teaspoon
Salt
0.5 cup
Sugar
Brushing
0.5 teaspoon
Vegetable oil
Table
Table of volume measurements:
- teaspoon - 5 ml
- dessert spoon - 10 ml
- tablespoon - 20 ml
- glass - 200 ml
Preparation
Step 1
How do you bake Zebra Cake with Milk in the oven? Prepare everything you need. We will make both batters, chocolate and plain, at the same time, like true pros. If you are not feeling that confident, you can make one batter first and then the other. It is up to you which one to start with. Take two bowls. Crack one egg into each bowl and add sugar. Add salt and vanilla sugar. The salt will enrich the flavor of the finished cake.
Step 2
Using a whisk, mix both mixtures one after the other for a couple of minutes until light bubbles appear. There is no need to dissolve the sugar completely at this stage, it will still have time to melt.
Step 3
Pour in the milk. It can be either cold or at room temperature. I used milk with 3.2% fat. The richness of the milk will affect the taste of the cake. Once again, whisk both mixtures one after the other.
Step 4
Put all the baking soda, intended for both batters, into a small bowl and activate it with all the lemon juice. Use a teaspoon to divide the soda evenly between the two bowls. If one bowl gets a little less and the other a little more, nothing bad will happen. The soda is activated with lemon juice so the cake rises well, turns out fluffy, and bakes through completely.
Step 5
Add cocoa powder to the future chocolate batter. It is better to sift it through a fine sieve to break up any lumps. Do not stir it yet, so you do not dirty the whisk. That is not laziness, it is simply practical. At this stage, do not add anything to the plain batter.
Step 6
Sift the flour into the plain batter in portions, whisking as you go. At the very end, add the sunflower oil and mix again. The plain batter is ready. In the same way, sift flour into the chocolate batter in portions, mix until smooth, and finally stir in the sunflower oil. The chocolate batter is ready. You may need a little less or a little more flour, so judge by the batter itself. The batter should be smooth and slightly runny, flowing freely from a spoon.
Step 7
Grease the bottom of the baking pan with a drop of sunflower oil so the cake will be easier to remove later. I used a round silicone pan 22 cm, about 8 1/2 inches, in diameter. Take two tablespoons, one for the plain batter and one for the chocolate batter. Now pour the batters one tablespoon at a time into the very center of the pan, alternating chocolate and plain batter. One spoonful of chocolate, then one spoonful of plain batter, and so on until all the batter is used up.
Step 8
The process of pouring the batter can be rather tiring, but it is exactly this technique that creates the beautiful pattern in the cake. By the way, I think the cake looks even better overall if the last spoonful is chocolate batter.
Step 9
You can decorate the top of the cake with an intricate pattern. Using an ordinary toothpick, draw several lines from the center toward the edges. Then, between those lines, draw several more in the opposite direction, from the edges toward the center. Bake the cake in an oven preheated to 180°C (350°F) for about 30-40 minutes, depending on your oven. Check for doneness with a toothpick. If you insert it into the very center of the cake, it should come out dry.
Author note
Share the recipe
