White bread dough recipe
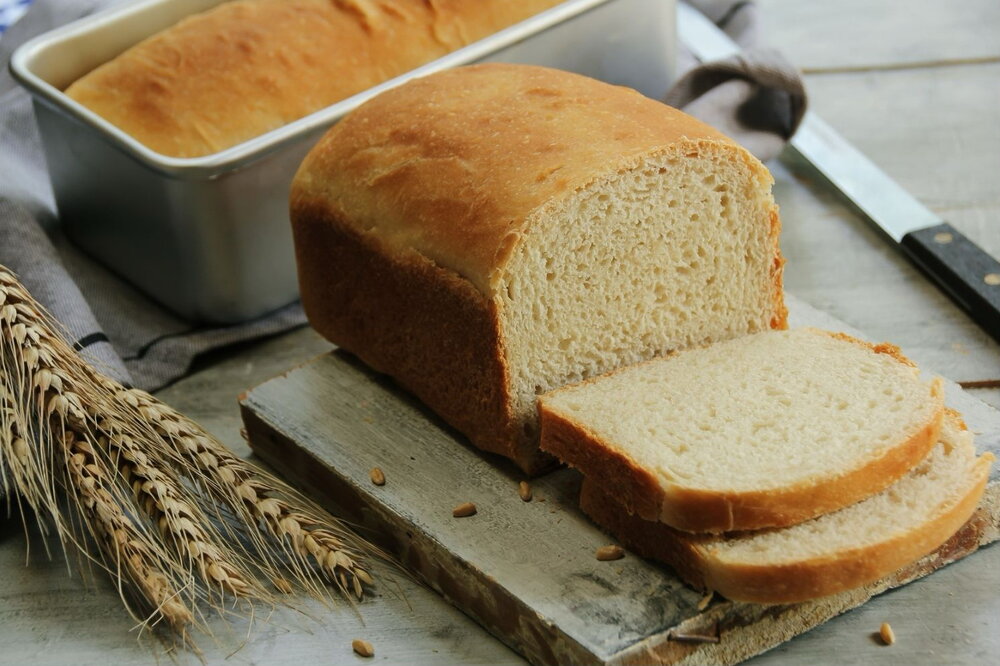
A versatile and reliable bread dough recipe perfect for shaping into a tin loaf, rustic boule, or soft rolls. With helpful tips for proving, shaping, and baking, this method guarantees golden, airy bread with a crisp crust and soft interior.
Updated : 24 July, 2025
Easy
More than 1 hour.
Ingredients

500 grams
Flour

50 grams
Butter

7 grams
Dry yeast

10 grams
Salt

350 milliliters
Water

1 tablespoon
Honey

1
Eggs
Table
Table of volume measurements:
- teaspoon - 5 ml
- dessert spoon - 10 ml
- tablespoon - 20 ml
- glass - 200 ml
Preparation
Step 1
Begin by placing the flour into a large bowl. If you're using butter, toss it through the flour, then rub it in with your fingertips until the mixture resembles fine breadcrumbs. Add the yeast and salt, mixing them through with your hands. Make a well in the centre and pour in the water, along with the honey if using. Mix everything together using your hands or a stand mixer fitted with a dough hook until you have a rough, shaggy dough.
Step 2
If using a stand mixer, knead the dough on a low–medium speed for 10–15 minutes, or until the dough becomes smooth, elastic, and pulls cleanly away from the sides of the bowl. If kneading by hand, transfer the dough to a work surface and knead for 15-20 minutes. You'll know it's ready when the dough springs back when lightly pressed - this indicates good gluten development.
Step 3
Place the kneaded dough into a clean bowl and cover with cling film, a damp cloth, or a reusable bowl cover. Leave it somewhere warm to prove for around 1 hour, or until doubled in size. The proving time may vary depending on the room temperature.
Step 4
Once risen, turn the dough out onto a very lightly floured surface and gently press it to release the air. When shaping, use as little flour as possible - excess flour can make the dough harder to handle and may alter the final texture.
Step 5
To shape a tin loaf flatten the dough into a rectangle slightly narrower than the length of a 900g/2lb loaf tin. Roll it up tightly like a Swiss roll and place it seam-side down into the tin. Cover and leave to prove again.
Step 6
To shape as a free-form loaf (boule) flatten the dough into a round. Fold the left and right sides into the centre, then repeat with the top and bottom. Do this a few times until the dough feels tight. Flip it over and gently drag it across the surface to build tension. Place onto a baking tray and leave to prove.
Step 7
To make rolls weigh the dough and divide it into 10 equal portions. Shape each one into a round using the same folding method as the boule, then place seam-side down on lined baking trays. Cover lightly and leave to prove.
Step 8
Allow the dough to rise for another hour. To test if it’s ready, perform the "poke test": lightly press a floured finger into the dough. If the indentation springs back slowly and incompletely, it's ready to bake. If it bounces back too quickly, it needs more time; if it doesn’t bounce back at all, it's overproved and should be baked immediately.
Step 9
While the bread is proving, preheat the oven to 220°C. Place an empty baking tray on the bottom shelf. When the bread goes in, toss a couple of ice cubes into that tray to create steam, which helps develop a crusty finish.
Step 10
Before baking, dust the top of the dough with a little flour for a rustic look. For the boule, score the top with a sharp serrated knife in a crosshatch pattern (like a noughts and crosses grid). For rolls, you can either dust with flour or brush with egg wash, which creates a soft, shiny crust and can act as glue for any seed toppings.
Step 11
Baking times:
– Tin loaf and boule: Bake for around 45 minutes, or until the crust is deeply golden. The bread should sound hollow when tapped underneath.
– Rolls: Bake for 18–20 minutes, or until golden-brown on top.
Step 12
Once baked, cool the bread on a wire rack for at least 1 hour before slicing or serving. Cutting too early may result in a gummy texture, so be patient - cooling is key to the perfect crumb.