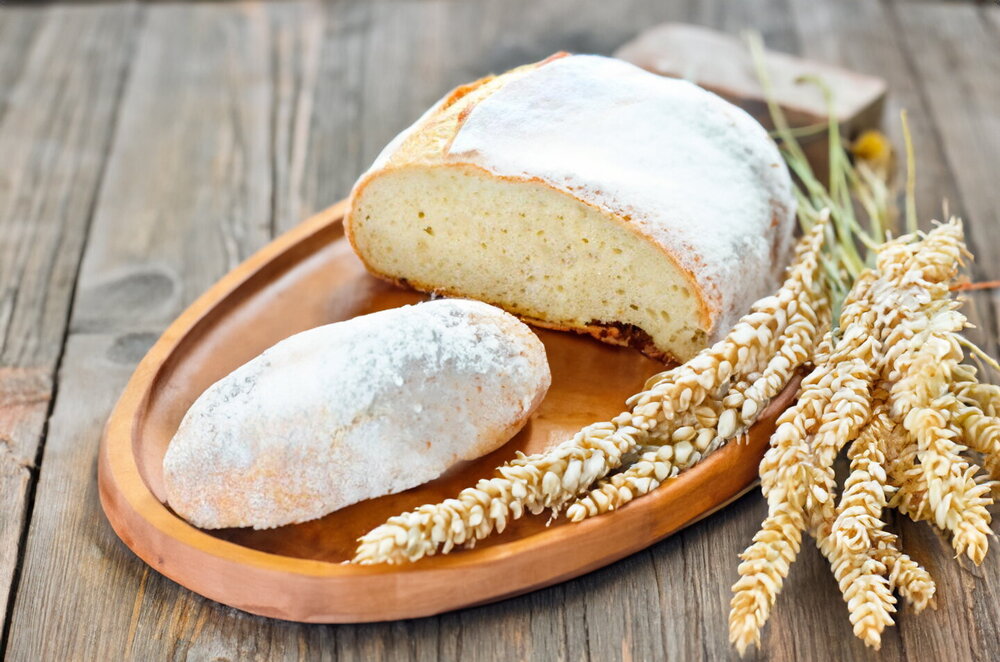
Sourdough White Bread Baked in the Oven
You will give up store-bought bread once you try this! Sourdough white bread is baked in the oven completely without yeast. It turns out healthy, with an indescribable aroma and taste. Baking this bread requires patience, though the process itself is very simple.
Updated : 30 July, 2025
Easy
More than 1 hour.
Ingredients

275 grams
Wheat flour

140 milliliters
Water

12 grams
Butter

12 grams
Honey

6 grams
Salt
Levain

10 grams
Ready-made sourdough starter
50 grams
Wheat flour
50 milliliters
Water
Table
Table of volume measurements:
- teaspoon - 5 ml
- dessert spoon - 10 ml
- tablespoon - 20 ml
- glass - 200 ml
Preparation
Step 1
You can use any sourdough starter, either wheat or rye-based. Instead of honey, use the same amount of sugar.
Step 2
Bread preparation has two stages. First, make the sponge, which takes 9-12 hours. After that, prepare the dough. The second stage lasts about 6 hours. I make the sponge overnight and bake the bread in the morning. For the sponge, take the needed amount of starter, add 50 g of clean room temperature water and 50 g of high-quality wheat flour. Mix, cover the bowl with plastic wrap, and leave at room temperature for 9-12 hours.
Step 3
The proofing time depends on the starter strength. Mine is quite young and rested for 12 hours. A stronger starter may be ready in 8-9 hours. You’ll know it’s ready by bubbles on the surface.
Step 4
Now start kneading the dough. Pour 140 g of water into the sponge, add 275 g of flour. Mix until smooth, cover with plastic wrap, and let rest on the table for 30 minutes. During this time, gluten will develop, making the dough easier to handle. Take butter from the fridge to soften at room temperature.
Step 5
The rested dough is still sticky; place it on a work surface. Don’t add extra flour; just moisten your hands with water. Flatten the dough and spread honey over it. Fold honey into the dough.
Step 6
Flatten the dough again, sprinkle salt on it, and knead the salt in. The dough will gradually become less sticky.
Step 7
Add softened butter the same way. After adding butter, knead until fully uniform.
Step 8
The dough will become smooth and almost stop sticking to your hands and surface.
Step 9
Shape the dough into a ball, put it in a clean bowl, cover with plastic wrap. Leave it for fermentation on the table for 3 hours. During this time, you need to punch down the dough twice.
Step 10
First punch down after 1 hour. Stretch the dough from four sides in turn: pull one edge and fold it to the center, then the opposite edge and fold it on top. Repeat with the other two sides. Cover the bowl again. Repeat the punch down after another hour.
Step 11
After 3 hours, place the dough on a work surface and shape it into a round. Gather the edges to the center like a knot, turn it over. Tighten the surface with a spatula while rolling. Cover with plastic wrap and rest for 20 minutes.
Step 12
Shape the loaf. Lightly flour the surface, flatten the dough into a rectangle. Fold one side, then fold the two edges over each other. Pinch the opposite edge tightly. You will get a small loaf.
Step 13
Line a bowl with a linen or cotton towel and dust it with flour. Place the dough seam-side up. Cover with plastic wrap and leave for about 1.5-2 hours. Time depends on starter activity and room temperature. Dough should increase in volume, but remain elastic and quickly regain shape after pressing.
Step 14
20 minutes before proofing ends, preheat oven to 482°F (250°C) with top and bottom heat. Place a baking sheet or baking stone and a suitable heatproof dome (any fireproof bowl or pot) in the oven to cover the bread while baking. Place the dough seam-side down on parchment paper. Score a diagonal slash or any pattern with a sharp knife.
Step 15
Transfer the parchment with dough to the hot baking sheet (or stone) and cover with the hot dome. Bake for 15 minutes covered, then remove the dome and reduce temperature to 392°F (200°C). Bake for another 15-20 minutes until golden crust forms. Time depends on your oven. Carefully transfer bread to a cooling rack and cool completely.
Step 16
Serve bread. Enjoy your meal!