Rye Bread with Homemade Sourdough Starter in the Oven
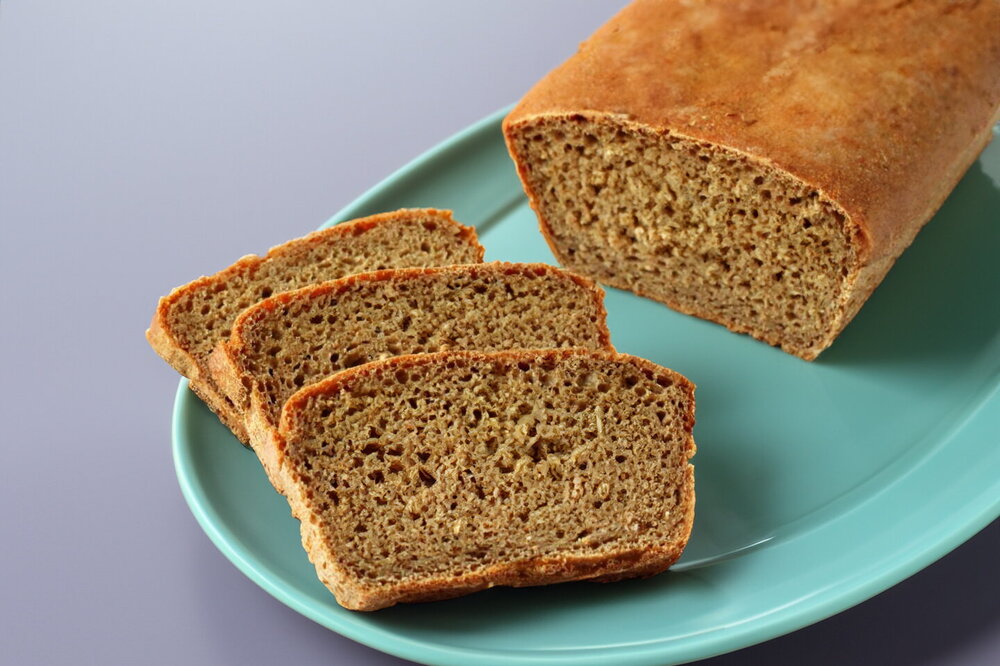
Soft and natural, with a warm, comforting aroma. Rye bread made in the oven with homemade sourdough starter creates a truly special atmosphere. It takes longer to make than yeast bread, but the time and effort are absolutely worth it. Give it a try.
Updated : 31 March, 2026
Easy
More than 1 hour.
Ingredients
Activation

50 grams
Ready-made sourdough starter

65 milliliters
Water

50 grams
Rye flour
Starter
100 grams
Ready-made sourdough starter
100 milliliters
Water
50 grams
Rye flour
Dough
170 milliliters
Water

1 tablespoon
Honey

0.5 teaspoon
Salt

1 tablespoon
Malt

1 tablespoon
Rye bran

1 tablespoon
Vegetable oil

1 teaspoon
Ground coriander
200 grams
Rye flour

35 grams
Wheat flour
Table
Table of volume measurements:
- teaspoon - 5 ml
- dessert spoon - 10 ml
- tablespoon - 20 ml
- glass - 200 ml
Preparation
Step 1
How do you bake rye bread with homemade sourdough starter in the oven? Prepare all the necessary ingredients for making the sponge for the rye bread. Take the starter out of the refrigerator in advance so it can warm up slightly at room temperature. Sift the flour through a sieve beforehand.
Step 2
First, you need to activate the starter. Put the starter into a convenient transparent container and add 65 ml of room-temperature water. Stir until smooth. I usually use a half-liter jar because it makes it easy to see how much the starter rises.
Step 3
Add 50 grams of sifted rye flour and mix well until smooth. You should get a fairly thick, sticky mixture. Cover the container with a towel or a loose lid and leave it at room temperature for 3.5 to 4 hours.
Step 4
The starter should increase in volume by about 3 times. If your home is very warm, the rising process may happen faster. If the top has started to sink, that means the starter is mature and you can make the sponge. But if the volume is already sufficient, you do not have to wait for the top to collapse.
Step 5
For mixing the bread dough, take a wide container. It is better if it is also transparent so you can observe the rise. Measure 100 grams of the prepared starter into the container, add 100 ml of water, and stir until there are no lumps. A whisk is handy here. Add 50 grams of sifted rye flour and mix everything until smooth. Cover the container and leave the sponge to rise for 3 to 3.5 hours. Feed the remaining starter and return it to the refrigerator.
Step 6
The sponge should increase in volume by 2 to 2.5 times.
Step 7
To make the bread dough, combine the 2 types of flour and sift them so the bread rises well. The malt can be replaced with bread kvass. Honey can be replaced with sugar.
Step 8
Brew the malt in 50 ml of boiling water in advance and let it cool. Dissolve the honey in the remaining 120 ml of warm water.
Step 9
Add the salt to the risen sponge.
Step 10
Pour in the honey water, add the cooled brewed malt, or bread kvass, and mix.
Step 11
Add the bran, this will make the bread more wholesome. Add crushed or ground coriander to make the bread aromatic and mix. Adding bran and coriander is optional.
Step 12
Add about half of the sifted flour mixture and mix. I sift it a second time here so the flour is even airier.
Step 13
Add the vegetable oil to the mixture and stir lightly.
Step 14
Add the rest of the flour. Keep in mind that you may need a little less or a little more flour, depending on the consistency of the dough.
Step 15
Knead the dough. It should turn out thick but not stiff, very sticky, and slowly falling from the spoon. Knead the dough for at least 5 minutes until completely smooth.
Step 16
If necessary, grease the bread baking pan with vegetable oil. A silicone pan does not need to be greased. Put the dough into the pan, level it out, and smooth the top with hands moistened with water.
Step 17
Leave the dough to rise for 2.5 to 3 hours. If bubbles start to appear on the surface, the dough has risen and the bread can be baked.
Step 18
Sprinkle the surface of the dough with water and scatter coriander on top.
Step 19
Bake the bread in an oven preheated to 200-210°C, 390-410°F, for 15 minutes. Then reduce the temperature to 190°C, 375°F, and bake for about another 45 minutes. Halfway through baking, cover the pan with foil so the bread does not brown too much. You can test whether the bread is done by tapping it with a wooden stick. If the sound is dull, the bread is ready. Remove the bread from the oven and immediately sprinkle it with water. Let it cool a little in the pan, then wrap it in a towel.
Step 20
The baking time is approximate, so adjust according to how your oven works. Freshly baked bread is not recommended to be eaten right away. It is better to let it mature for about 1 day. During this time, the crumb will become firmer and the bread will be easier to slice. Enjoy your meal.
Author note
Share the recipe
