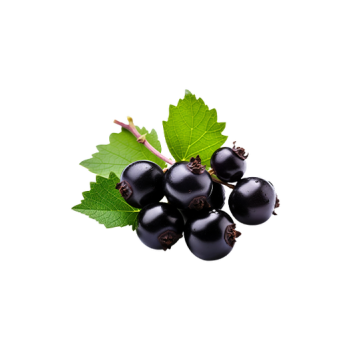
Raspberry and Black Currant Jam

Delicious, fragrant, and vibrant - summer in every spoon! Raspberry and black currant jam has a gentle tartness without cloying sweetness. The berries are cooked briefly to preserve their color and shape. In winter, this jam makes a perfect topping for pancakes, fritters, or casseroles.
Updated : 01 August, 2025

Easy
More than 1 hour.
Preparation
Step 1
You can slightly adjust the ratio - more raspberries or more currants, depending on your taste or what's available.
Step 2
Remove stems and leaves from the currants, rinse under running water, and dry on a paper towel. If your raspberries are from your garden, you may skip washing to preserve their shape. Mine were market-bought, so I gently rinsed them in a bowl of cold water and let them dry.
Step 3
Sprinkle dry, clean berries with sugar, dividing the total sugar amount into two parts. Let the berries sit so they release their juice.
Step 4
Stir the berries occasionally using a silicone spatula or spoon. Do this gently to keep the berries whole.
Step 5
Once the berries have released enough juice (this took me 5-6 hours), you can begin cooking the jam. Since the jam cooks quickly, sterilize jars and boil the lids in advance.
Step 6
Place the currants along with their juice into a suitable pan and set over low heat. If making a large batch, use an enamel basin or wide pot with low sides. I only had enough berries for one jar, so I used an enamel saucepan. When it comes to a boil, cook on medium heat for 5 minutes, skimming off the foam occasionally. The jam should not boil vigorously, and you shouldn’t stir it.
Step 7
Now add the raspberries with their juice. Do not stir. Let the mixture come to a gentle boil, then cook on medium heat for no more than 5 minutes.
Step 8
You don’t need to cook the jam until thick. Once it’s done, pour the hot jam into a sterilized jar, seal tightly, flip upside down, and wrap in a towel. Let it cool completely, then store in a cool place.
Step 9
From the listed ingredients, I got one 350 ml jar of jam and a little extra for pancakes, toast, or tea.
Step 10
Happy preserving!


