
Quick Skillet Cake with Condensed Milk
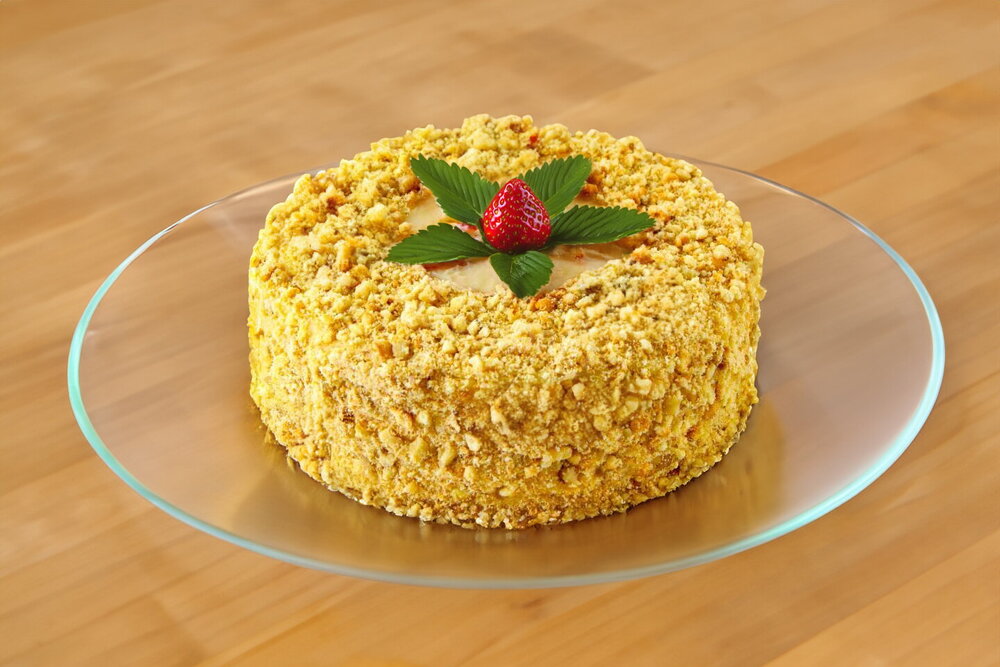
A wonderfully delicious cake made without an oven or electric mixer. The condensed milk dough is quick to knead and the thin layers cook in minutes, while the creamy custard gives the dessert a delicate milky flavor.
Updated : 25 September, 2026
Easy
About 1 hour.
Ingredients
Dough
1
Eggs
270 grams
Condensed milk
1 teaspoon
Baking powder
315 grams
Wheat flour
Cream
2
Eggs
120 grams
Sugar
7 grams
Vanilla sugar
500 milliliters
Milk
125 grams
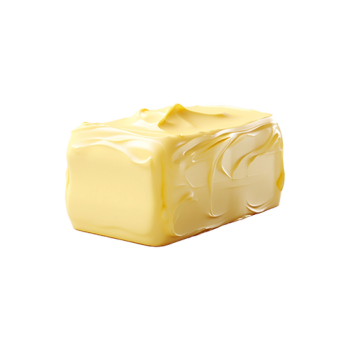
Butter
60 grams
Wheat flour
Topping
60 grams
Shortbread cookies
30 grams
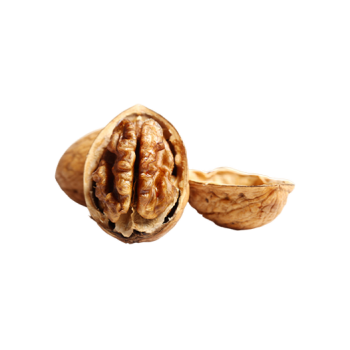
Walnut
Table
Table of volume measurements:
- teaspoon - 5 ml
- dessert spoon - 10 ml
- tablespoon - 20 ml
- glass - 200 ml
Preparation
Step 1
Begin with the custard so it has time to cool while you cook the cake layers. Measure the required ingredients. Use good-quality butter without vegetable fat substitutes and bring it to room temperature beforehand.
Step 2
In a bowl, whisk the eggs with the sugar and vanilla sugar until smooth.
Step 3
Add the flour and whisk until no lumps remain.
Step 4
Pour in about ⅔ cup of the milk and mix well.
Step 5
Heat the remaining milk in a saucepan until very hot. Whisking constantly and vigorously, slowly pour the egg and milk mixture into the hot milk.
Step 6
Cook the custard over medium heat, stirring continuously. It will gradually thicken. Once it coats the spatula and runs off slowly, remove the saucepan from the heat.
Step 7
Immediately add the butter and mix thoroughly until completely smooth.
Step 8
Transfer the custard to another container if you want it to cool faster. Cover the surface directly with plastic wrap to prevent a skin from forming, then leave the custard to cool.
Step 9
Measure the ingredients for the dough. Choose good-quality sweetened condensed milk made primarily from milk and sugar, as its quality will affect the flavor and texture of the finished cake.
Step 10
In a suitably sized bowl, whisk the egg until smooth.
Step 11
Add the sweetened condensed milk and mix thoroughly.
Step 12
Add half of the flour sifted together with the baking powder and mix. Gradually add the remaining flour, mixing as you go. You may need slightly more or less flour, so judge by the consistency of the dough.
Step 13
The finished dough should be smooth and moderately firm.
Step 14
Roll the dough into a log and divide it into equal portions. The number will depend on the diameter of the cake layers. For 7–7½-inch layers, divide the dough into 6 portions.
Step 15
Roll each piece of dough into a very thin round on a smooth work surface. The layers will puff while cooking and become thicker again as they absorb the custard, so the thinner they are rolled, the better the finished cake will soften. Do not add extra flour while rolling, as excess flour may scorch in the pan.
Step 16
Use a plate of the appropriate size to trim each layer into an even circle.
Step 17
Heat a dry frying pan over medium heat. Avoid very high heat so the layers cook evenly without scorching. Carefully transfer one dough round to the pan.
Step 18
When the underside is golden, flip the layer and cook the second side until done. Roll out the next piece while the first one cooks. Prepare all the layers in the same way. Combine the dough scraps and roll them into 1–2 additional layers if desired. Leave the cooked layers to cool.
Step 19
Begin assembling the cake by placing one layer on a serving plate.
Step 20
Spread a generous layer of custard over it so the cake will absorb plenty of moisture.
Step 21
Place the next cake layer on top.
Step 22
Continue alternating cake layers and custard until the cake is assembled. Spread custard over the top and sides as well.
Step 23
For the decoration, use plain sponge or shortbread cookies without filling. You can also use any nuts you like, such as walnuts, hazelnuts or peanuts.
Step 24
Crush the cookies and nuts into crumbs and mix them together. Coat the top and sides of the cake with the mixture. Refrigerate for 12–14 hours so the layers can soften and absorb the custard thoroughly.
Step 25
Before serving, decorate with berries or soft fruit if desired. Cut into portions and serve.
Author note
Share the recipe


