Quick Honey Cake Without Rolling the Layers
Sweet, tender crumb and a delicate cream-and-sour-cream frosting! This quick honey cake is easy to make and requires no rolling of layers. A lazy recipe for anyone who doesn’t want to spend lots of time in the kitchen on a honey cake!
Updated : 13 March, 2026
Easy
About 45 min.
Ingredients
Dough

350 grams
Wheat flour

100 grams
Honey

60 grams
Sugar

6
Eggs

1 teaspoon
Baking soda
Cream

200 grams
Sour cream

200 milliliters
Heavy cream

2 tablespoon
Condensed milk
Table
Table of volume measurements:
- teaspoon - 5 ml
- dessert spoon - 10 ml
- tablespoon - 20 ml
- glass - 200 ml
Preparation
Step 1
How can you bake a honey cake faster? Prepare the ingredients for the batter. Use fresh large eggs. If the eggs are small, use 7-8. Use all-purpose flour, but judge by batter consistency - you may need a little less or more.
Step 2
In a saucepan, combine honey and baking soda and place over low heat, stirring constantly.
Step 3
When the mixture starts foaming, keep heating and stirring for 1 minute until it turns a light caramel color. The darker the honey mixture, the darker the cake layers will be.
Step 4
Beat the eggs with sugar until fluffy and pale.
Step 5
Add the warm honey mixture to the beaten eggs and mix with a mixer until smooth. The batter will become quite loose.
Step 6
Add sifted flour and mix again on low speed.
Step 7
The batter should be a bit thicker than classic apple sponge batter, but still pourable. Add more or less flour as needed - go by consistency.
Step 8
Pour the batter into a greased pan (mine is 20×20 cm / about 8×8 in, but smaller works too) and bake in a preheated oven at 180°C / 356°F for about 30-40 minutes. Check doneness - the skewer should come out dry, especially from the center.
Step 9
Remove the baked cake from the pan, wrap it tightly in plastic wrap or a bag, and let it cool at room temperature.
Step 10
Cut off the top crust; if you like, trim the sides. Slice the cake horizontally into 4-5 thin layers.
Step 11
Dry the trimmings in a skillet or in the oven, then crumble by hand or pulse in a blender.
Step 12
Prepare the ingredients for the frosting - they should be cold, especially the cream, because warm cream won’t whip.
Step 13
First, whip the cold cream with sweetened condensed milk until thick and stable.
Step 14
Add sour cream and whip again.
Step 15
The frosting should be stable and not runny; it should hold ridges from the whisk. You can refrigerate it for 20-30 minutes to stabilize further.
Step 16
Spread each layer with the sour-cream–whipped-cream frosting. Don’t skimp - some frosting will soak in, and the rest will remain as filling.
Step 17
Stack the layers to form a tall cake. Frost the top and sides with the remaining cream.
Step 18
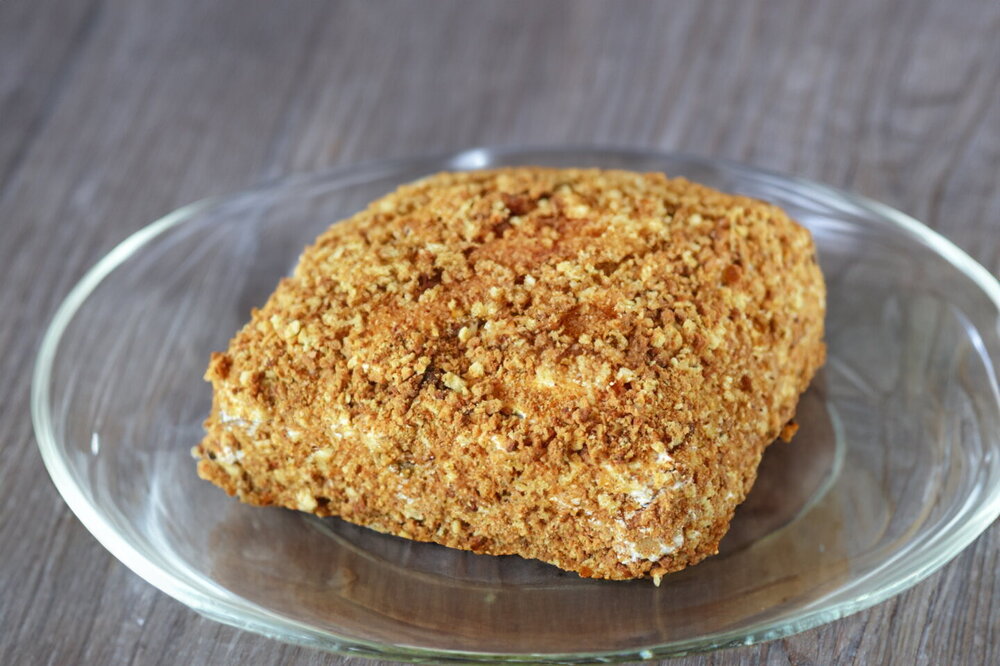
Cover the cake on all sides with the crumbs. Refrigerate overnight to soak. Enjoy your meal!
Step 19
Before serving, you can decorate with fresh berries.
Author note
Share the recipe
