Pickled Wild Garlic for Winter
Unique, tangy, quick, and delicious! Pickled wild garlic for winter helps preserve this flavorful and healthy spring herb at its best. Don’t miss the short harvesting season - prepare it now and enjoy a great snack or side dish all year round.
Updated : 04 November, 2025
Easy
About 45 min.
Ingredients

500 grams
Wild garlic

0.5 liter
Water

0.5 teaspoon
Cilantro, coriander

0.5 teaspoon
Dill

4 tablespoon
Vinegar 5%

2
Laurel leaf

0.5 teaspoon
Mixed peppercorns

1.5 tablespoon
Sugar

1 tablespoon
Salt
Table
Table of volume measurements:
- teaspoon - 5 ml
- dessert spoon - 10 ml
- tablespoon - 20 ml
- glass - 200 ml
Preparation
Step 1
Any wild garlic will work for pickling, but if you’re buying it, choose thick, juicy stems. The leaves aren’t used here - don’t discard them, though; you can use them in salads or freeze them. Use 9% vinegar; if you have vinegar essence, dilute it at a 1:7 ratio (essence to water). Use coarse, non-iodized salt.
Step 2
Prepare the jars. Wash them with baking soda, rinse well, and place them wet upside down in a cold oven along with the lids. Heat to 150°C (300°F) and sterilize: 0.5-0.7 L jars for 9 minutes, 1 L for 15 minutes, 2 L for 20 minutes. This method is reliable, but you can also sterilize jars in the microwave or over steam if you prefer.
Step 3
Prepare the wild garlic. Since soil residue may remain on the greens, soak them in cool water for 15 minutes, using a wide bowl so they’re fully submerged. Rinse thoroughly afterward. Peel the reddish film from the stems and remove any damaged ones - they can cause fermentation and spoil the preserve.
Step 4
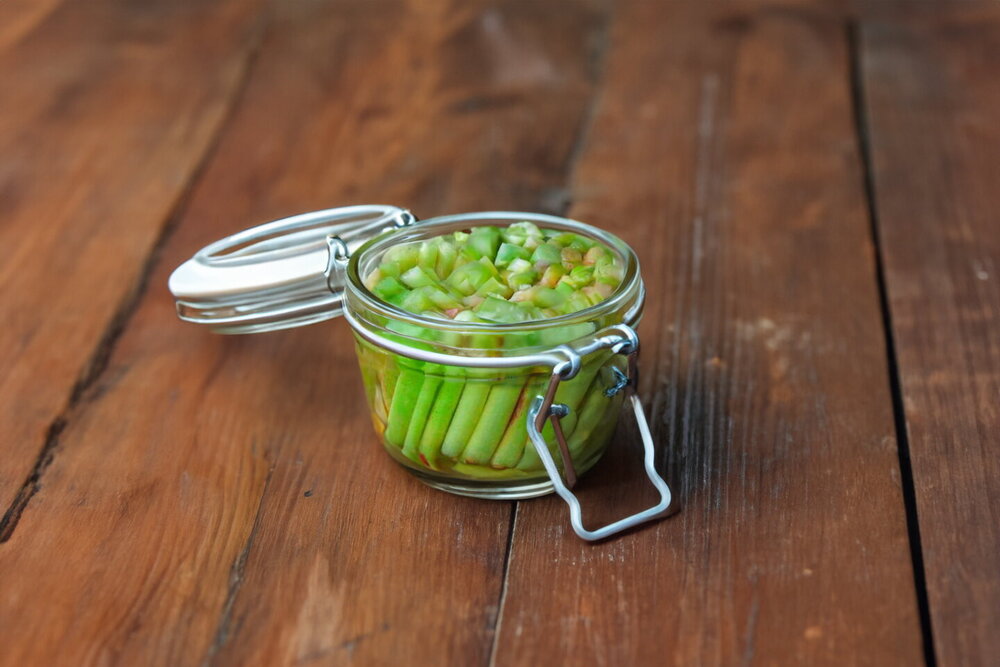
Cut off the middle, fleshy part of the stems, removing the leaves and roots. Depending on your jar size, leave the stems whole or cut into smaller pieces. Pack the stems tightly into the jars, horizontally or at a slight angle to avoid empty gaps.
Step 5
Prepare the brine. Pour 0.5 L (2 cups) of water into a pot, add coriander seeds, black peppercorns, a couple of bay leaves, sugar, and coarse salt (1 tablespoon each with a small mound). Bring to a boil, reduce the heat, and simmer for about 5 minutes.
Step 6
Pour the boiling brine into the jars, filling them almost to the top. Distribute the spices and bay leaves evenly among the jars.
Step 7
Add 2 tablespoons of 9% vinegar to each jar, then top up with brine to the rim. Seal with sterilized lids. This amount of brine is enough for about two 0.5 L jars. Do not alter the salt, sugar, or vinegar ratios - they act as preservatives and prevent fermentation.
Step 8
Turn the jars upside down to check for leaks, cover with a warm towel, and let cool completely. Store in a cool place. The pickles are ready in about a month and can last up to a year - though they’re often eaten much sooner! Serve as an appetizer or as a side to meat, fish, or potato dishes. They’re also great in salads, sauces, and soups.