
Italian Panettone Sweet Bread
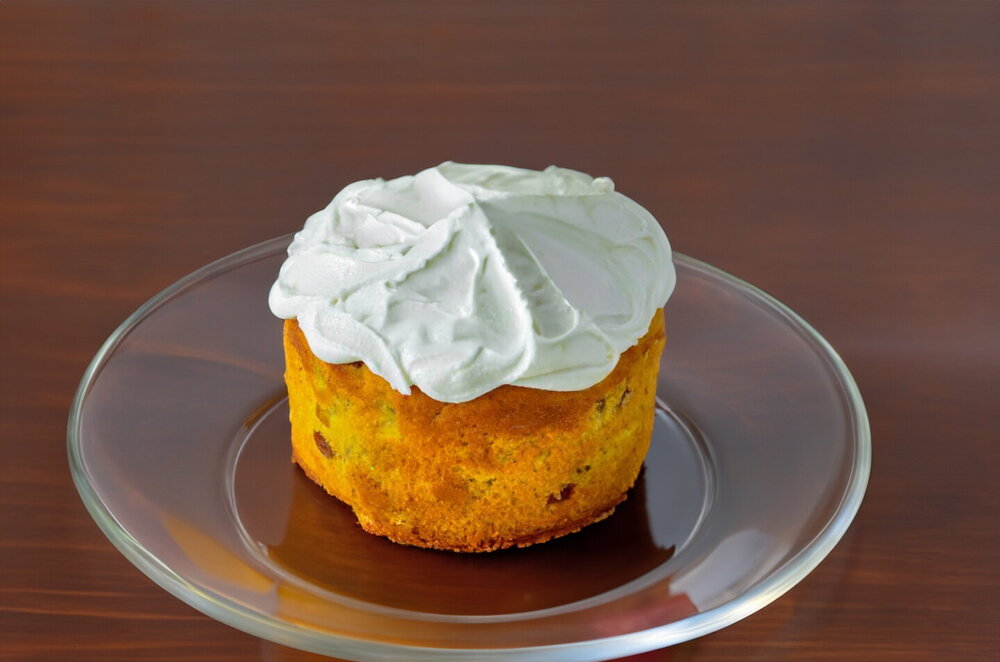
Tender, soft, and incredibly aromatic - a true delight. Italian Panettone is similar to a Slavic festive sweet bread, but in Italy it is traditionally prepared for Christmas and New Year. It is baked from sweet dough with raisins, candied fruit, and nuts. This bake is not the easiest one, but the result is well worth it.
Updated : 26 May, 2026
Easy
More than 1 hour.
Ingredients
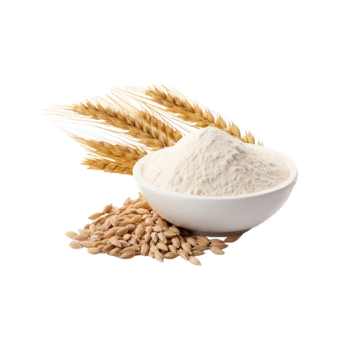
430 grams
Wheat flour
150 grams
Sugar
1 teaspoon
Vanilla sugar
7 grams
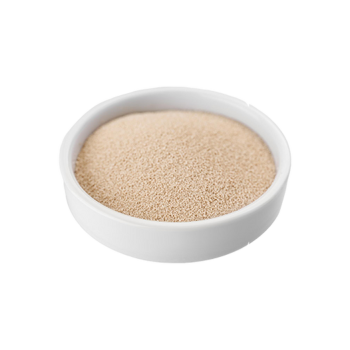
Dry yeast

150 grams
Egg yolks

190 grams
Milk

25 grams
Honey
180 grams
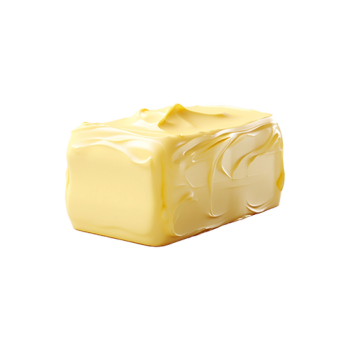
Butter

1
Lemon
100 grams
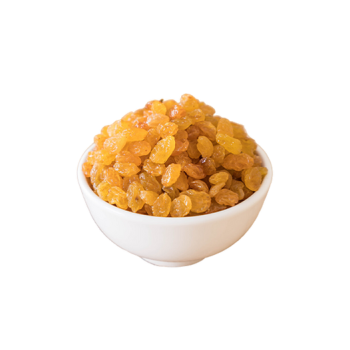
Raisins

100 grams
Candied fruit peels

50 milliliters
Cognac
Table
Table of volume measurements:
- teaspoon - 5 ml
- dessert spoon - 10 ml
- tablespoon - 20 ml
- glass - 200 ml
Preparation
Step 1
How do you bake Italian Panettone sweet bread? Prepare the ingredients. For this recipe, I strongly recommend using a kitchen scale because precision is very important here. That is why the yolks are given in grams rather than by egg count. All ingredients should be at room temperature, so take the eggs and butter out of the refrigerator ahead of time. In addition to lemon, you can also use an orange.
Step 2
Sift the flour into a large bowl. Be sure to do this, because sifting enriches the flour with oxygen, which makes the baked goods airy. It also removes any unwanted impurities that might be in the flour.
Step 3
Add all the remaining dry ingredients to the flour: sugar, vanilla sugar, and dry yeast. If you are using fresh yeast, do not add it now; it will go into the liquid ingredients later.
Step 4
Mix the dry ingredients well with a whisk.
Step 5
In another bowl, combine the egg yolks and honey. 150 g of yolks is about 5.3 oz, or roughly 8 yolks from large eggs, but be sure to weigh them and use the exact amount. Warm the milk until it is just warm. It should be warm but not scalding, otherwise the yeast will die and the bake will not rise properly. Add the milk to the yolks and mix well. If you are using fresh yeast, add it at this stage.
Step 6
Next, combine both mixtures by pouring the liquid ingredients into the dry ones. Stir the mixture with a whisk. If you have a mixer with dough attachments, it is better to use it. A whisk or your hands will also work, but it will take longer and be harder.
Step 7
When the two mixtures are more or less combined, begin adding the softened butter in portions. Mix it in until the dough is completely smooth. This took me about 10 minutes by hand.
Step 8
Zest the lemon. First wash the lemon well with baking soda and a brush to remove the protective wax coating. The zest is the thin top layer of the peel above the white part. Remove it using a fine grater. Grate carefully so you do not reach the white layer underneath, which tastes bitter. If you are also using an orange, zest it as well. Add the zest to the dough. Continue kneading for about 5 more minutes.
Step 9
When the dough becomes smooth, gather it into a ball. It will still remain sticky, so use a silicone spatula. Cover the bowl with plastic wrap or a lid and place the dough in a warm spot to rise. I heated the oven to 50°C (122°F), then waited a little and placed the dough inside. If you have warm radiators, you can place it nearby. The main thing is that there should be no drafts.
Step 10
While the dough is rising, prepare the dried fruit. Rinse the raisins and candied fruit very well in a colander, then pour a small amount of boiling water over them. Add the brandy as well. Instead of brandy, you can use rum, whiskey, or another strong aromatic alcohol. Leave everything to soak for several hours.
Step 11
The dough should rise a lot and become full of bubbles. This may take from 3 to 6 hours, depending on the temperature and the yeast you are using. Mine stood for 4 hours.
Step 12
Start kneading again. The dough will deflate a lot, but do not be alarmed. And again, I recommend using a mixer. By hand, I had to knead it for about 20 minutes, while a mixer would handle it in 5-10. You need to achieve a dough that does not tear when stretched, but stretches for a while.
Step 13
Once that stage is reached, add the raisins and candied fruit. First place them in a sieve and let the liquid drain off. Mix well.
Step 14
Take the baking molds. I baked mine in paper molds, and those do not require any preparation. Grease other molds with a thin layer of vegetable oil. Divide the dough among the molds, filling them one-third full. I ended up with two large molds, but I could have divided it into three. It is even better to use smaller rather than larger molds, in which case you will get about four. The dough is rather heavy, and in smaller cakes it bakes better and faster.
Step 15
Return the dough, now in the molds, to a warm place. Again, I turned the oven on to 50°C (122°F), switched it off, waited a little, and placed the tray with the molds inside. The dough should rise again, which will take about 1 to 1½ hours. Mine was warm enough and rose like this in 1 hour.
Step 16
Turn the oven on to 180°C (350°F), using the top-and-bottom heat setting. If your cakes were already in the oven, you do not need to take them out and can heat the oven with them inside. Bake the cakes for 25-30 minutes. If your cakes are large like mine, increase the time to 40-45 minutes. If the top begins browning too much, cover it with circles of foil. Remove the finished cakes and let them cool. If you like, coat them with any glaze; it is convenient to make one from the leftover egg whites. Enjoy your meal!
Author note
Share the recipe


