Homemade Adyghe Cheese
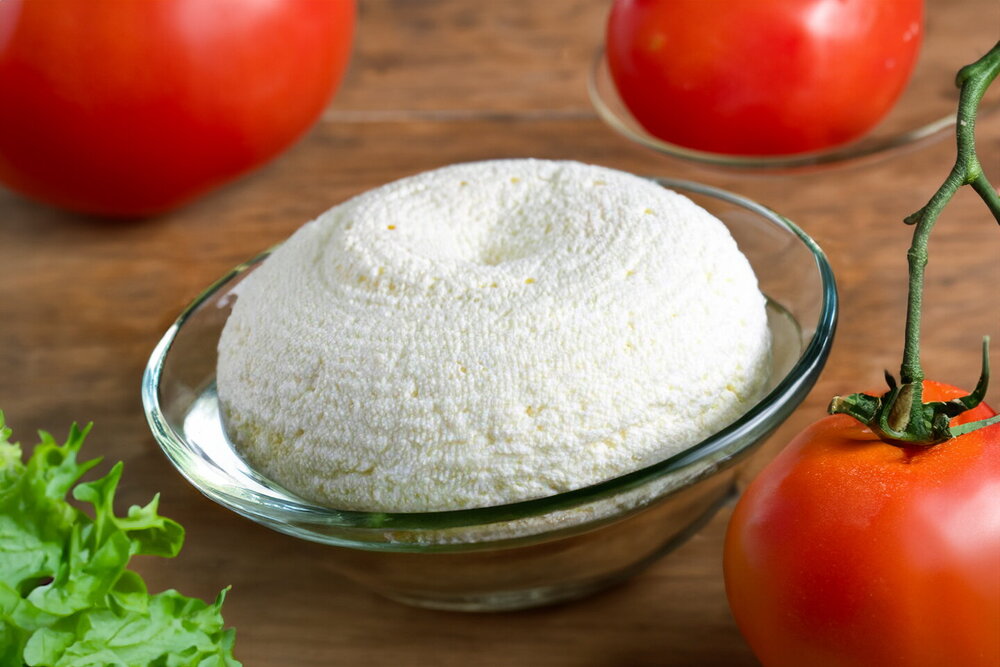
Very tender, natural, and free of preservatives. Bliss! Homemade Adyghe cheese is incredibly simple to make. It can be prepared using vinegar or curd/kefir whey. This cheese is eaten up in minutes.
Updated : 28 July, 2025
Easy
About 20 min.
Ingredients

4 liter
Milk

80 milliliters
Vinegar

80 milliliters
Water

2 tablespoon
Salt
Table
Table of volume measurements:
- teaspoon - 5 ml
- dessert spoon - 10 ml
- tablespoon - 20 ml
- glass - 200 ml
Preparation
Step 1
Adjust the amount of salt to taste. You can add herbs, chopped olives, or sun-dried tomatoes. No need to use milk with higher fat content than stated - the fat will go into the whey. You’ll also need a cooking thermometer.
Step 2
Pour milk into a large pot and add salt. If you prefer a less salty cheese, add salt just before pressing (Step 5).
Step 3
Place the pot over medium heat, stirring constantly, and heat the milk to 194-205°F (90-96°C). Use a thermometer. Do not let the milk boil - this is crucial. Dilute vinegar with boiled water and slowly pour it in along the sides of the pot while stirring the milk with a spatula. Keep the temperature steady at 194-205°F.
Step 4
Continue stirring even after all the vinegar is added. Curds will soon begin to form and a yellowish-green whey will separate. Reduce the heat to low and simmer for 20-25 minutes. To test doneness, press a curd between your fingers - if it feels like an omelet, it's ready.
Step 5
Drain part of the whey into a separate bowl. Using a slotted spoon, transfer the cheese curds into a cheese mold lined with cheesecloth. If you don’t have a mold, use a colander or sieve over a bowl to collect whey. Don’t stir or break the curds - just gently press them with a spoon to remove moisture and flatten them for better pressing.
Step 6
Cover the cheese with cheesecloth and place a small plate or saucer on top. My mold has a 15 cm diameter and holds 800g of cheese.
Step 7
Put a weight on top and refrigerate the cheese for 8 hours or overnight. You can also use whey instead of vinegar for a different method.
Step 8
Slice the finished cheese. Store in cheesecloth in the refrigerator for up to one week. Enjoy!