
Curly Pincher Cake
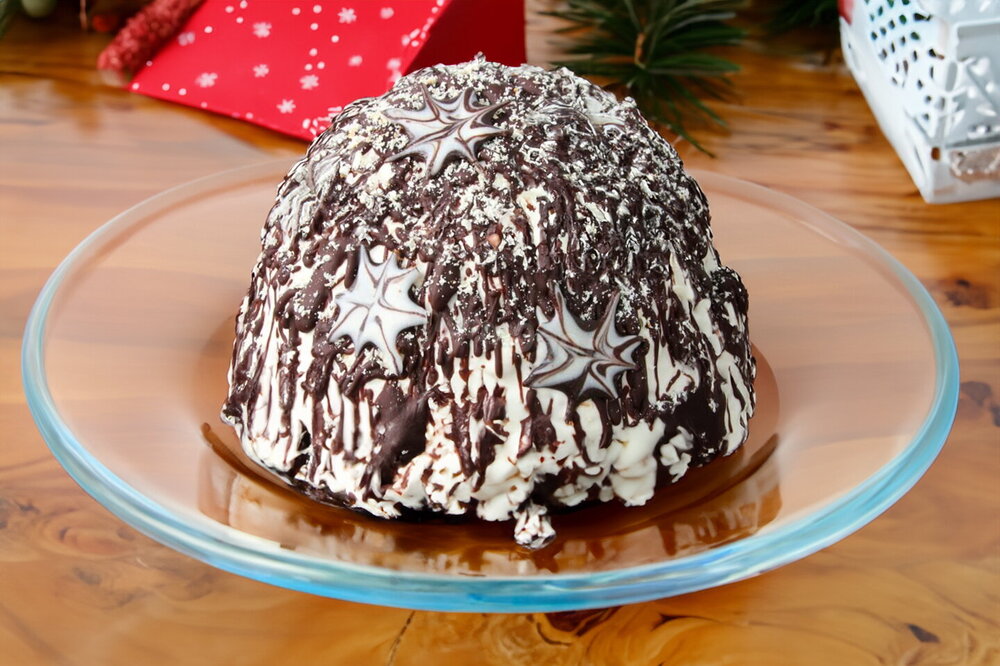
A sponge cake with sour cream frosting and fruit. The name comes from the English word “pinch.” In different variations, this cake is also called “Curly Pincher,” “Pancho,” “Don Pancho,” or “Sancho Pancho.”
Updated : 30 July, 2026
Easy
More than 1 hour.
Ingredients
Batter
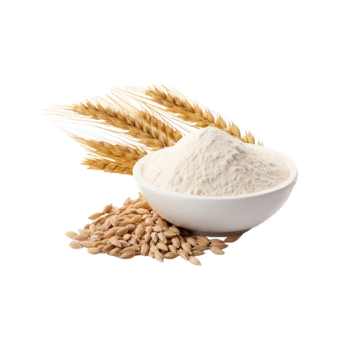
210 grams
Wheat flour
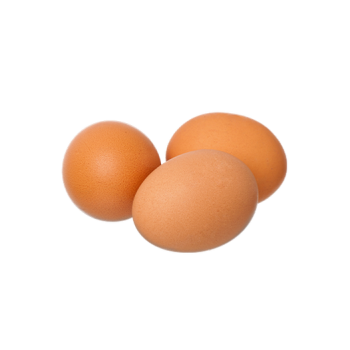
2
Eggs
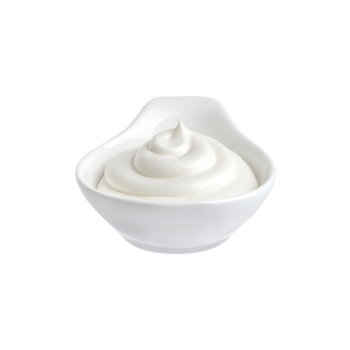
220 grams
Sour cream
150 grams
Condensed milk
15 grams
Cocoa
160 grams
Sugar
10 grams
Vanilla sugar
8 grams
Baking powder
0.25 grams
Salt
Cream
900 grams
Sour cream
170 grams
Sugar
10 grams
Vanilla sugar
Filling
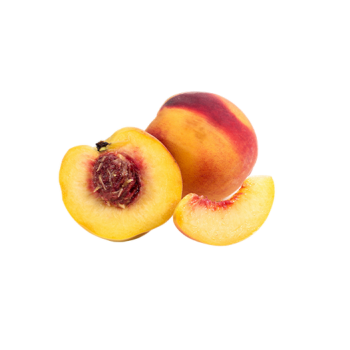
220 grams
Peach

230 grams
Cherry
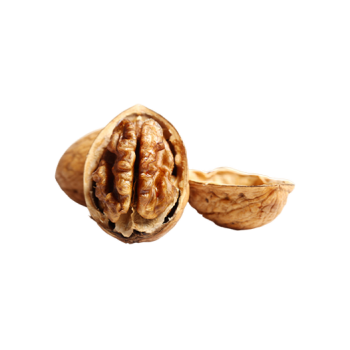
60 grams
Walnut
Glaze
60 grams
Dark chocolate
30 grams
Butter
Syrup
50 milliliters
Sugar syrup
Table
Table of volume measurements:
- teaspoon - 5 ml
- dessert spoon - 10 ml
- tablespoon - 20 ml
- glass - 200 ml
Preparation
Step 1
As always, the ingredients for the batter should be at room temperature. Take the sour cream and eggs out of the refrigerator 30 minutes in advance. I used 20% sour cream for the batter. Do not use thicker sour cream, but a lower fat percentage is fine, so the batter does not become too thick.
Step 2
Prepare the sour cream sponge cake. Crack 2 eggs into a bowl, add the regular sugar and vanilla sugar, and whisk well until smooth.
Step 3
Add the condensed milk and sour cream, mixing each time.
Step 4
Add the salt and baking powder to the flour, then sift it into the batter in portions. Mix until smooth.
Step 5
The finished batter should be slightly thicker than pancake batter.
Step 6
Divide the batter into 2 equal parts. Sift 1 heaped tablespoon of good-quality cocoa into one part and mix it in. You can adjust this to your preference; I made slightly more dark batter.
Step 7
Line a baking sheet with parchment paper. If you are not sure about its quality, it is better to grease it with butter or vegetable oil. Alternately or at the same time, starting from the center, pour in the different-colored batters. You can leave the center even or make a wave pattern. Gently shake the baking sheet so the batter spreads more evenly.
Step 8
Bake immediately in a preheated oven at 180°C / 356°F for about 20–25 minutes. Check doneness with a toothpick: if it comes out dry, the sponge is ready. The time may vary, as ovens are different. Remove the finished sponge layer from the baking sheet together with the paper, transfer it to a wire rack, cover with a thin towel, and let it cool and rest.
Step 9
Prepare the sour cream frosting. For the frosting, use sour cream from 20% fat. I used store-bought sour cream and strained it overnight in advance so the whey could drain off. If you use farm-style sour cream or sour cream from 30% fat, you can skip this step. Add the regular sugar and vanilla sugar to the sour cream and mix well until smooth.
Step 10
Let it stand on the counter for a little while so the sugar dissolves, then cover and put it in the refrigerator. At first, the sugar will make the sour cream thinner, but in the cold the frosting will thicken. There is no need to whip the sour cream; the resulting consistency will be just right for soaking the cake well.
Step 11
Prepare the filling. Chop the nuts, but not too finely; I cut them with a knife. If using canned fruit, drain it in a colander so the syrup runs off, then cut the peach into 6 pieces. Remove the pits from the sweet cherries or sour cherries and leave them whole. If using fresh fruit, wash and prepare it in the same way.
Step 12
Assemble the cake. Cut a circle 20–24 cm / about 8–9 1/2 inches in diameter from the sponge layer. This will be the base of the cake; you can trim off the top crust. Break the remaining sponge into random pieces of different sizes. Soak the cake base well with syrup, because the sponge is a little dry. I used ready-made syrup from canned peaches for soaking.
Step 13
Spread sour cream frosting over the soaked base.
Step 14
Sprinkle nuts over the frosting and arrange the fruit, alternating the pieces. For the second layer, use the larger sponge pieces, dipping them in the frosting beforehand. Alternate the dark sponge with the light sponge, so the cake looks more interesting when sliced and the flavor is more balanced.
Step 15
Continue layering in the same way, narrowing the top into a mound. The dome can be shaped evenly or made to look like “ruins.” Spread frosting over the top of the assembled cake, cover it, and put it in the refrigerator for 2 or more hours, or overnight.
Step 16
Prepare the chocolate glaze just before coating the cake. Melt the broken chocolate and butter over a steam bath, then mix until smooth. I used dark chocolate, and the glaze turned out glossy. You can also melt just chocolate without butter, with a small amount of cream, or make a cocoa glaze. There is no major difference; it is a matter of taste.
Step 17
Let the glaze cool just slightly, then coat the cake right away. You can drizzle drops and streaks from a spoon, or use a pastry bag to draw thin lines and any pattern you like. Take the cake out of the refrigerator at least 15 minutes before glazing so it warms slightly. You can serve it as soon as the glaze sets. I grated white chocolate over the glaze to imitate snow and decorated it with “stars” made from melted chocolate.
Author note
Share the recipe


