Christmas Ornament Sponge Cake
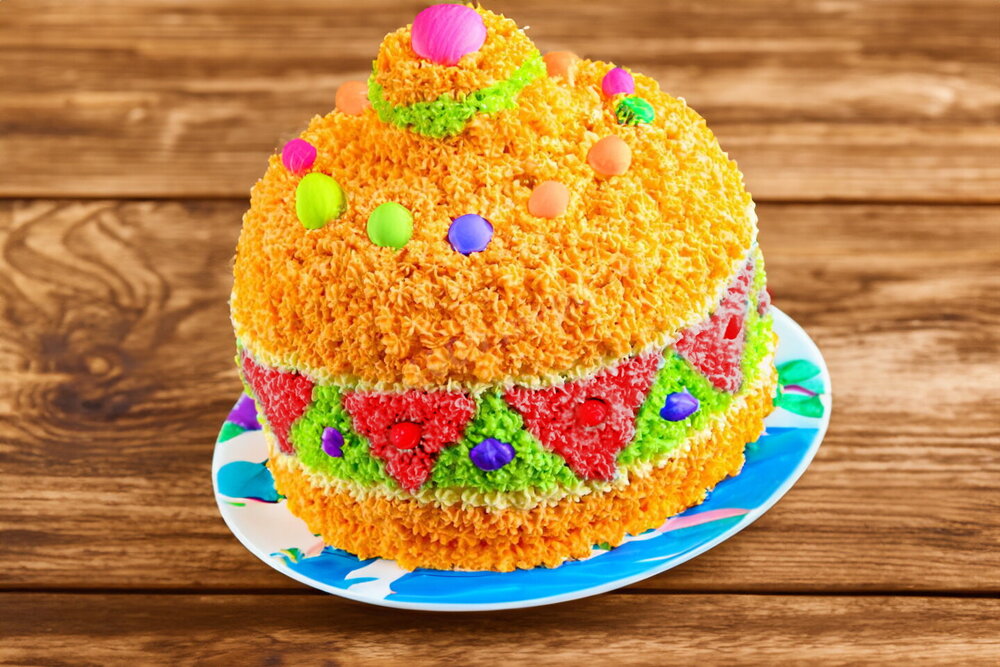
Festive, bright, delicate, and airy - perfect for the holidays! The Christmas Ornament Sponge Cake features fluffy sponge layers, a creamy filling, and a gentle “Plombir” custard. Its festive decoration will catch the eye of both adults and children. This sweet dessert is enough for a big, cheerful crowd!
Updated : 09 September, 2025
Easy
More than 1 hour.
Ingredients
One sponge cake

3
Eggs

110 grams
Sugar

1 teaspoon
Vanilla sugar

3 tablespoon
Water

0.5 teaspoon
Baking powder

135 grams
Wheat flour
Cream

500 milliliters
Heavy cream

50 grams
Powdered sugar

to taste
Vanillin
Plombir cream
2
Eggs
120 grams
Sugar
1 teaspoon
Vanilla sugar

500 milliliters
Milk

200 grams
Butter

80 grams
Cornstarch
Syrup

80 milliliters
Juice
Table
Table of volume measurements:
- teaspoon - 5 ml
- dessert spoon - 10 ml
- tablespoon - 20 ml
- glass - 200 ml
Preparation
Step 1
Measure the necessary ingredients for making the sponge cake. Use large eggs. The quantity is for one sponge cake. You’ll need to make two sponges. If you have two identical baking pans, you can make a double batch at once.
Step 2
Mix the flour with baking powder and sift it to incorporate air. This helps the sponge rise better and become light and fluffy.
Step 3
Wash the eggs. Always wash eggs before using, as even clean-looking shells can carry harmful bacteria. Carefully separate the eggs into whites and yolks. Not a drop of yolk should get into the whites, or they won’t whip properly.
Step 4
Beat the yolks with half the sugar and vanilla sugar until smooth. While still beating, slowly pour in very hot water in a thin stream. Beat until the mixture is pale and fluffy. Stop when the beaters leave visible traces in the mixture.
Step 5
Wash and dry the mixer beaters thoroughly. In a clean, grease-free bowl, whip the egg whites. Start at low speed until soft foam forms. Gradually add the remaining sugar while beating. Increase the mixer speed to maximum. Beat until the whites form a stiff, stable foam. When you turn the bowl upside down, the egg whites should stay in place.
Step 6
Add half of the beaten egg whites to the yolks. Gently fold them in with upward motions using a spatula.
Step 7
Add half of the sifted flour mixture and gently fold in from top to bottom.
Step 8
Add the remaining egg whites and carefully fold them in, keeping the mixture airy.
Step 9
Add the remaining flour and gently mix again.
Step 10
The batter should be smooth and airy.
Step 11
Line the bottom of the baking pan with parchment paper. Do not grease the sides. Transfer the batter into the pan. My pan is 20 cm (about 8 inches) in diameter.
Step 12
Bake the sponge in a preheated oven at 180°C (356°F) for about 30 minutes. Don’t open the oven for the first 15-20 minutes to prevent collapse from a sudden temperature drop. Bake until golden brown. Let the sponge cool slightly, then remove it from the pan. Ideally, let the sponge rest for 10-12 hours so the crumb becomes denser and less crumbly when slicing into layers. Prepare the second sponge in the same way.
Step 13
Make the “Plombir” custard for decorating the cake. Use high-quality butter without vegetable fat substitutes (72.5-82% fat). Let it soften at room temperature. You can replace cornstarch with potato starch.
Step 14
In a small saucepan, combine eggs, sugar, vanilla sugar, and corn starch. Whisk everything well.
Step 15
Pour in a bit of milk and mix until smooth.
Step 16
Add the rest of the milk and mix again.
Step 17
Place the saucepan over medium heat. Stir constantly as you heat the mixture until it thickens. Lower the heat to minimum and stir actively until the mixture thickens. It’s ready when it slowly drips off the spatula.
Step 18
Remove from heat and cover the custard with plastic wrap in direct contact with the surface to prevent a skin from forming. Let it cool to room temperature.
Step 19
Beat the softened butter with vanilla sugar until creamy.
Step 20
Gradually add the cooled custard base to the butter, one to one and a half tablespoons at a time.
Step 21
Whip the cream at low mixer speed until smooth. It’s very important that the butter and custard are at the same temperature, or the cream might separate. Chill the finished cream.
Step 22
Cut the sponge cakes into 3-4 layers.
Step 23
Place one sponge layer upside down and the other sponge layer right side up on top.
Step 24
Slightly trim the top and bottom edges of the cakes around the circumference to shape the cake into a ball. Set the trimmings aside.
Step 25
Prepare the whipped cream. Use cream with at least 33% fat.
Step 26
The cream and mixing bowl should be well chilled. Start whipping the cream with vanilla at low speed, gradually adding powdered sugar. When the cream thickens, increase to maximum speed. The whipped cream should hold its shape without running. Be careful not to overwhip, or it will become buttery.
Step 27
Brush the bottom sponge layer with a bit of juice or syrup.
Step 28
Spread a layer of whipped cream on top.
Step 29
Place the second layer, brush with juice, and spread cream.
Step 30
Assemble the entire cake this way. Spread whipped cream all over the cake. Reserve a bit of cream.
Step 31
Mix the cake trimmings with the reserved whipped cream, shape it into the top of the Christmas ornament, and place it on top of the cake.
Step 32
For decorating, you can color the “Plombir” cream in any colors. I used orange, green, and blue. Use whichever colors you prefer. Use a piping nozzle to decorate the cake with chilled cream as creatively as you like. Place the finished cake in the fridge to soak and for the cream to stabilize.
Step 33
Slice the Christmas Ornament Sponge Cake into portions and serve. Enjoy!