Scalded Yeast Dough for Pirozhki
The secret to fluffy, elastic, golden baking! Scalded yeast dough for pirozhki is a bit of a challenge, but with these clear steps anyone can master it - and the pastries turn out outstanding.
Updated : 04 March, 2026
Easy
More than 1 hour.
Ingredients
Scolded strarter

60 grams
Wheat flour

250 milliliters
Milk
Starter
200 milliliters
Milk

1 tablespoon
Sugar

10 grams
Dry yeast
Dough
650 grams
Wheat flour
80 grams
Sugar

2
Eggs

90 grams
Butter

1 teaspoon
Vanilla sugar
Table
Table of volume measurements:
- teaspoon - 5 ml
- dessert spoon - 10 ml
- tablespoon - 20 ml
- glass - 200 ml
Preparation
Step 1
How to make scalded yeast dough for pirozhki? Prepare the ingredients for the flour “scald.” The milk can be room temperature or straight from the fridge. Take the eggs and butter for the dough out of the fridge now so they can come to room temperature by the time you knead.
Step 2
Pour the milk into a small saucepan or deep skillet. Add the flour for the scald and set over medium heat. Stir, breaking up lumps.
Step 3
Cook until the mixture holds a clear line from a spatula. It took me 3 minutes. A few small lumps are fine - the mixer will handle them later. Cool the scald to room temperature.
Step 4
Make the sponge (starter). Measure the ingredients. Warm the milk to 38-40°C / 100-104°F - it should feel pleasantly warm, not hot.
Step 5
Add the yeast and sugar to the milk and stir lightly. Leave the sponge in a warm place for 15 minutes.
Step 6
After 15 minutes, a foamy cap should form. If it doesn’t, the yeast is likely low quality - use a different batch and make the sponge again.
Step 7
Start working with the dough ingredients. Sift two-thirds of the flour into the bowl of a stand mixer.
Step 8
Add vanilla sugar and regular sugar. You can add a pinch of salt if you like.
Step 9
Add the room-temperature scald, the sponge, and the eggs.
Step 10
Knead on low speed with the dough hook for 2 minutes (you can knead by hand, it will just take longer).
Step 11
Add the softened butter and knead on low speed for another 10-13 minutes. Watch the dough’s consistency to decide whether you need to sift in more flour. This dough is stickier than classic yeast dough: it won’t pull cleanly from the bowl sides and won’t form a perfectly smooth ball.
Step 12
As soon as the dough stops sticking to your hands but is still fairly sticky, stop adding flour.
Step 13
Use a silicone spatula to scrape the dough from the sides into the center. Cover with plastic wrap and leave in a warm place for 1-1.5 hours to rise.
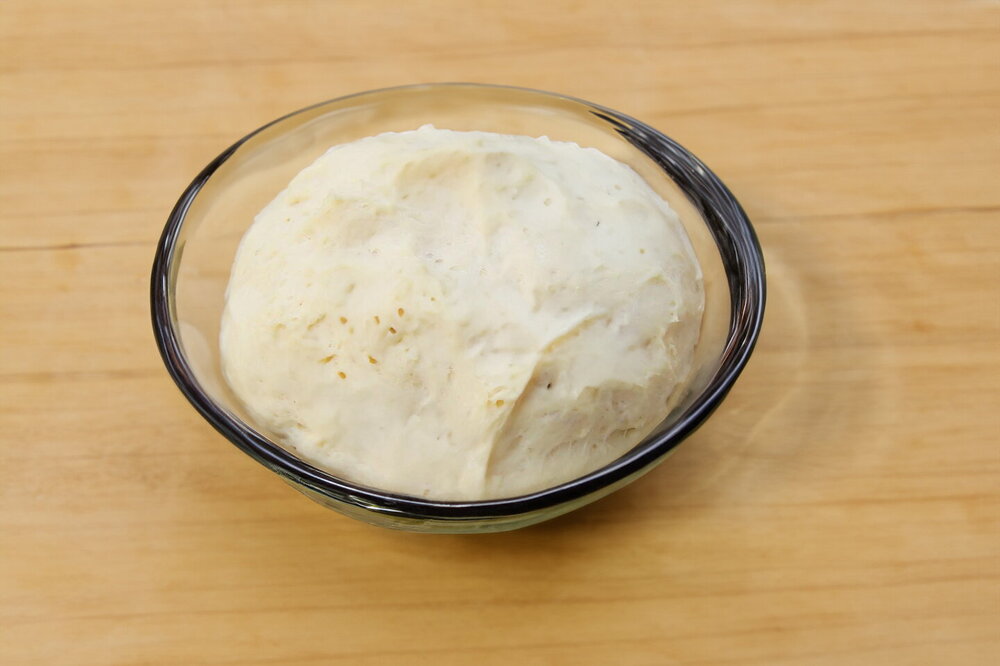
Step 14
After rising, the dough will be less sticky. Start shaping pirozhki. I got 18 pieces.
Author note
Share the recipe
