Easy white bread
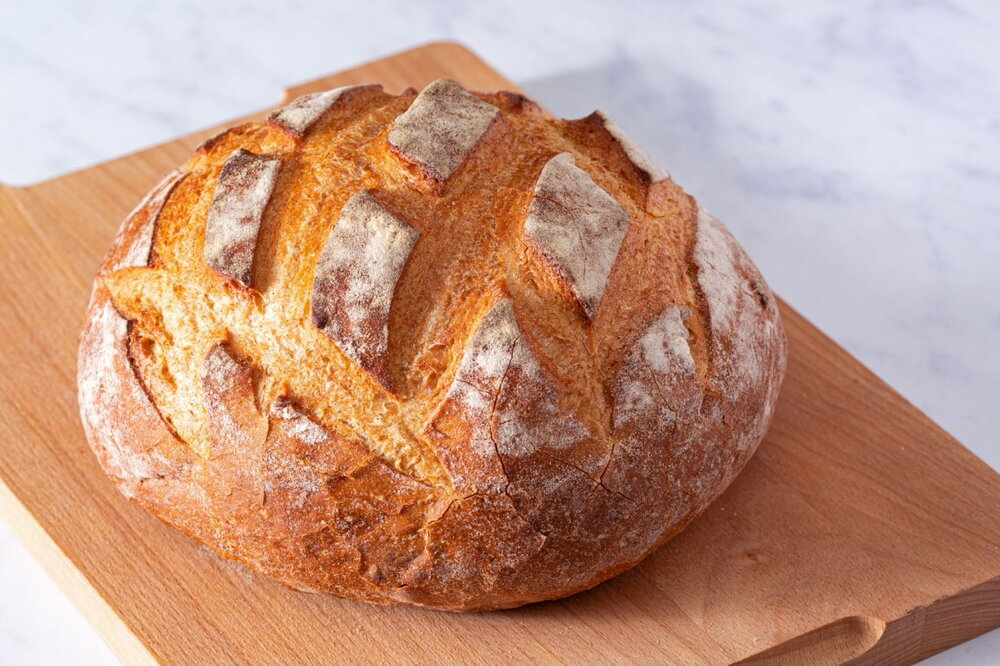
A classic homemade loaf made from scratch using simple ingredients and traditional bread-making techniques. Soft, airy, and beautifully golden with a crisp crust - perfect for sandwiches, toast, or enjoying warm with butter.
Updated : 13 November, 2025
Easy
More than 1 hour.
Ingredients

500 grams
Flour

40 grams
Butter

7 grams
Dry yeast

1.5 teaspoon
Salt

300 milliliters
Water

splash
Sunflower oil
Table
Table of volume measurements:
- teaspoon - 5 ml
- dessert spoon - 10 ml
- tablespoon - 20 ml
- glass - 200 ml
Preparation
Step 1
Put the flour into a large mixing bowl and add the butter. Add the yeast on one side of the bowl and the salt on the opposite side so the salt doesn’t kill the yeast. Stir everything together to combine.
Step 2
Add half the water and use your fingers to move the mixture around the bowl, picking up flour from the edges. Continue adding the remaining water a little at a time, combining well until all the flour is incorporated. You may not need all the water, or may need a little extra - you’re aiming for a soft, well-combined dough that is not sticky or soggy. Keep mixing and gathering until the dough forms a rough ball and no dry flour remains.
Step 3
Lightly grease a clean work surface with about a teaspoon of oil. Turn the dough out onto the oiled surface. Fold the far edge of the dough into the middle, turn it 45 degrees, and repeat several times until the dough has a light coating of oil.
Step 4
Begin kneading: push the dough away from you with the heel of your hand, then fold it back on itself. Turn it 90 degrees and repeat. Continue kneading for 4-5 minutes, or until the dough becomes smooth, elastic, and stretchy. Work quickly to prevent sticking; if needed, rub a little flour onto your hands to remove any sticky bits.
Step 5
Clean and lightly oil the mixing bowl. Return the dough to the bowl, cover with a damp tea towel or lightly oiled cling film, and leave to prove until doubled in size - about 1 hour, depending on room temperature.
Step 6
Line a baking tray with baking or silicone paper.
Step 7
Once the dough has doubled, scrape it out of the bowl. It should feel bouncy and shiny. Turn it onto a lightly floured surface and “knock it back” by kneading firmly to remove excess air. Roll the dough up with your hand, turn it 45 degrees, and roll again. Repeat this several times, then gently shape the dough into a smooth, round loaf.
Step 8
Place the loaf onto the lined baking tray. Cover with a tea towel or lightly oiled cling film and leave to prove again until doubled in size - around 1 hour.
Step 9
Preheat the oven to 220°C and place an old empty roasting tin in the bottom of the oven.
Step 10
Once the loaf has risen, dust the top lightly with flour and gently rub it over the surface. Use a large, sharp knife to score shallow cuts (about 1cm/½in deep) across the top to form a diamond pattern.
Step 11
Transfer the loaf (still on the baking tray) to the middle of the oven. Just before closing the door, pour a little water into the empty roasting tin at the bottom - the steam will help create a crisp, shiny crust.
Step 12
Bake for about 30 minutes, until the loaf is risen and golden. To check if it’s cooked, remove it from the oven and tap the base - it should sound hollow.
Step 13
Cool the loaf completely on a wire rack before slicing.
Author note
Share the recipe
